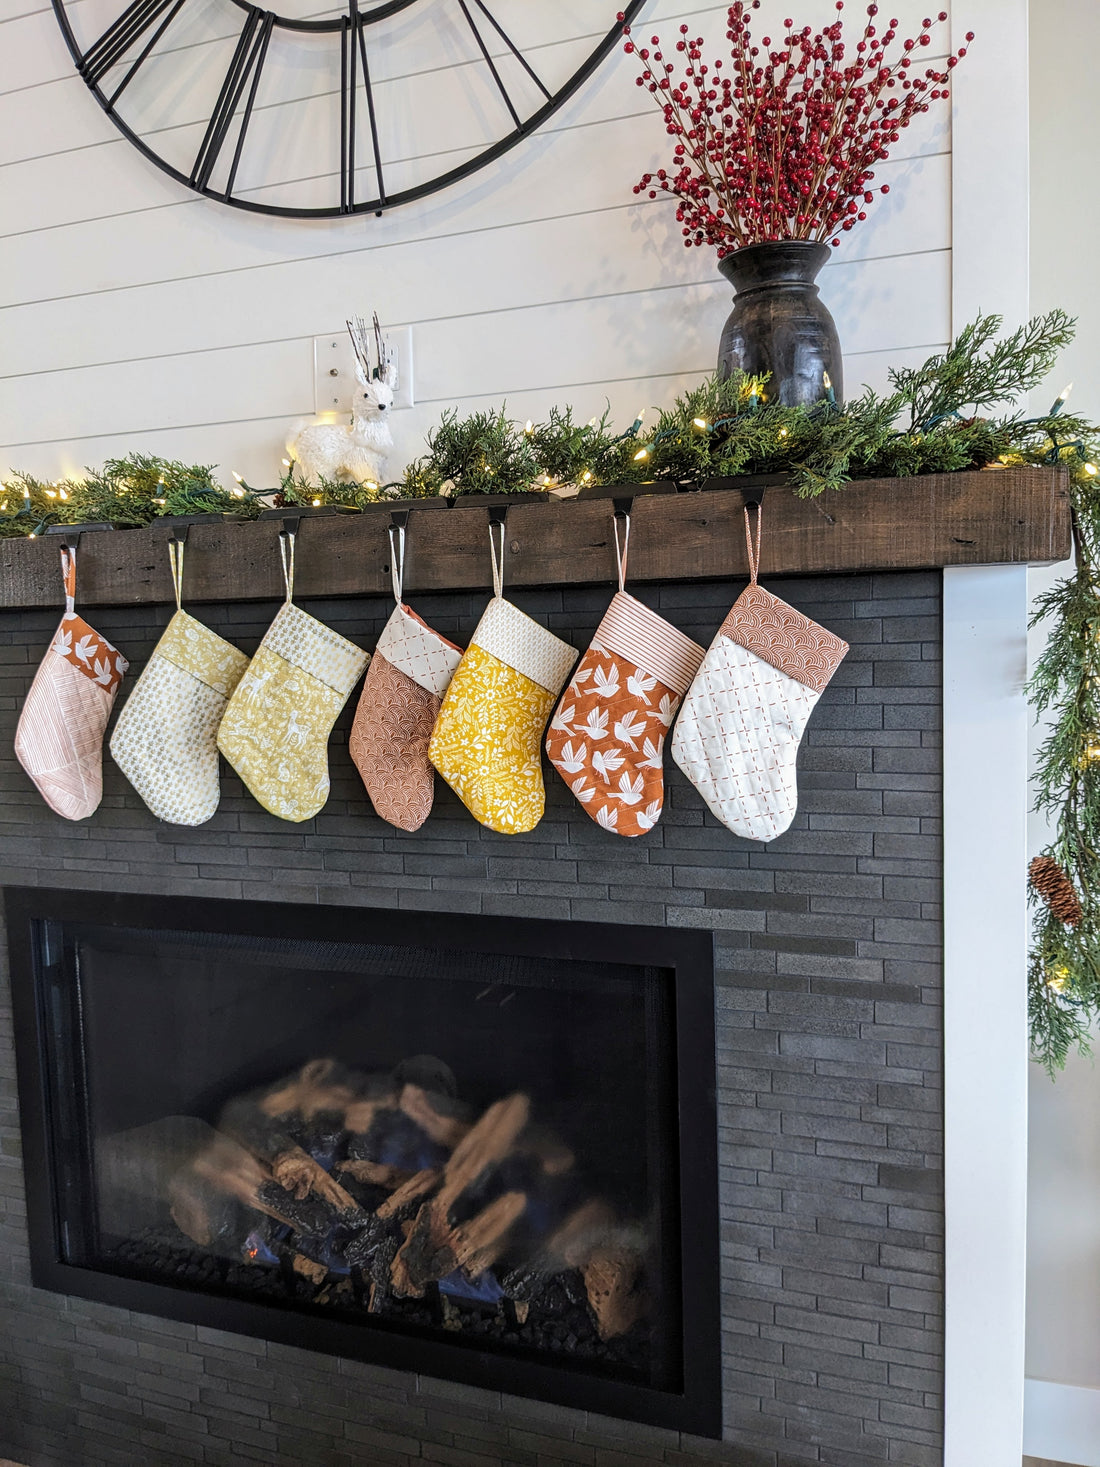

I just made stockings for the first time and I love them! They were easy to make and I got to customize them! They are relatively small which is what I wanted. They are 10" top to toe and 5.5" wide.

What you need:
- (4) 11" x 9" rectangles of fabric (Front outside, back outside, front lining and back lining)
- (1) 11" x 9" rectangle of batting
- (1) 6" x 5.5" rectangle for cuff
- (1) 1.25" x 8" rectangle for hanging loop
Let's begin. Download template here or print out template below.
How I was able to print from the blog:
Right click on the image below.
Save image to your computer. Take note of where you are saving it to.
Find image on your computer (might be under downloads.)
Open image and you should have an option to print.
Print at scale to fit on 8.5" x 11" paper. It will be 6" wide across the top of the stocking.

1. Cut out template, and trace template onto fabric, or cut around template on fabric. Do this for all 4 pieces of fabric and 1 piece of batting.

2. Quilt (1) fabric stocking piece to batting material if you want a quilted look. This will be the front of the stocking. I chose to have the toes to the right.
3. Fold the 6" x 5.5" rectangle in half so it is 6" x 2.75".
4. Fold holder/loop, 8" x 1.25" rectangle lengthwise in half and then each side in half again so no edges are showing. Sew down edge to create holder.
For reference: The rainbow fabric is the front and back of the stocking and the plus fabric is for the lining of stocking. The same fabric can be used for all pieces.

5. Place cuff with raw edge on the top of the front of your stocking. Place loop 1/4" in from the edge on the heel side of the stocking. See image below.

6. Place lining fabric face down (right sides together) on the outside fabric. Sew along the top of the stocking only. Repeat for other half of stocking.

7. Iron seams to one side.

8. Place the 2 stocking pieces right side together, lining with lining and outside with outside. Sew around perimeter with 1/4" seam except for 2" on the bottom of the lining for turning stocking.
NOTE: picture below shows pins where I do not sew for turning.

I like using my 1/4" foot for keeping my seams even.

Below shows area on lining I leave open for turning.

9. Make small clips with scissors on all corners of the stocking. Be sure not to cut over the seam that you just sewed. This helps you have nice rounded corners when it is completed.

10. Pull the stocking through the hole in the lining.

11. Sew your seam closed on the lining once it's turned.

12. Push the lining into the stocking and push all the edges out from the inside.

Yay! Your stocking is complete!


I hope you found this tutorial helpful!
Amber